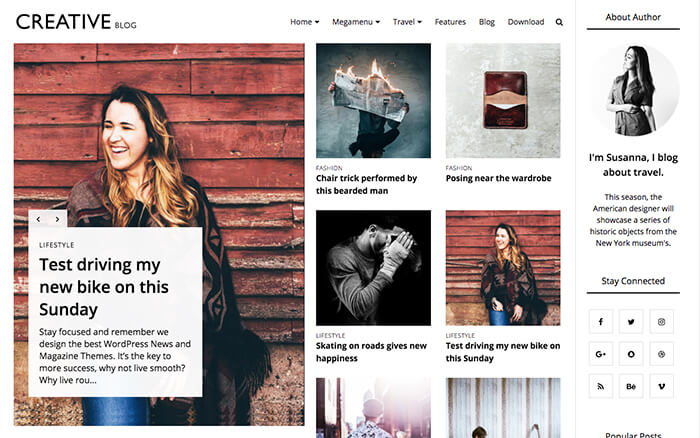
Welcome to how to install blogger template Creative Blogger Template, below are the steps that will help you to configure and setup our Creative Blogger Template.
If you are finding any difficulties configuring the template then you can go ahead and purchase our Template + Installation Package from here and our team will setup the template for you:
Blogger platform is very easy to use and understand. Moreover, it is absolutely free. Hence today we will let you know how to install a blogger template or how to install a blogger theme. We’ve crafted some simple steps for you to understand and install your blogger theme on your new blog or existing one.
For installing the blogger template there are two methods:
- Uploading XML Method
- Copy Pasting Template Code Method
How to Install a Blogger Template:
1. Uploading XML Method
- Download Blogger Template: First of all download the blogger template that you want to put on your blog. It will get downloaded in .zip file.
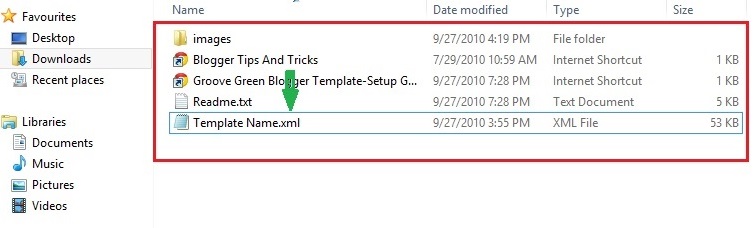
- Extract the zip file: Zip file will contain .xml file which is the file that will get uploaded on Blogger, hence we will have to extract the contents of the zip file to obtain .xml file which is the template file.
- Login to Blogger: After you’ve the .xml file with you, now its time to login to your Blogger Dashboard. Goto www.Blogger.com and login with your google account. Just skip this step if you’re already logged in. Select the Blog you want to use or want to install this template to.
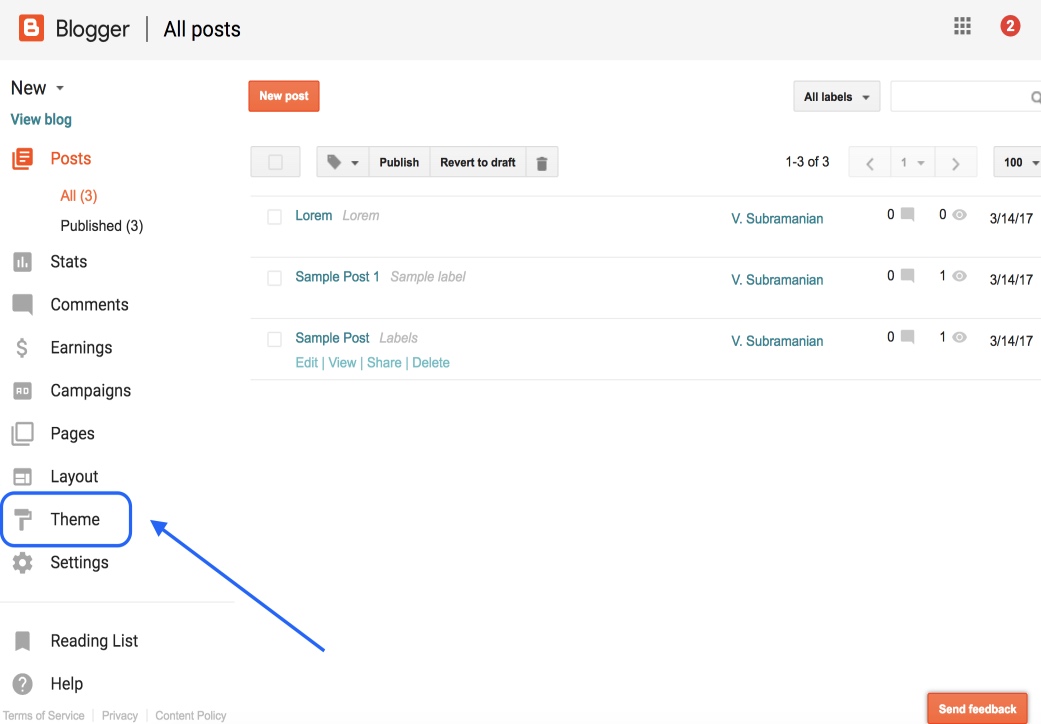
- Access Theme Section: Choose theme on the left hand side of the menu.
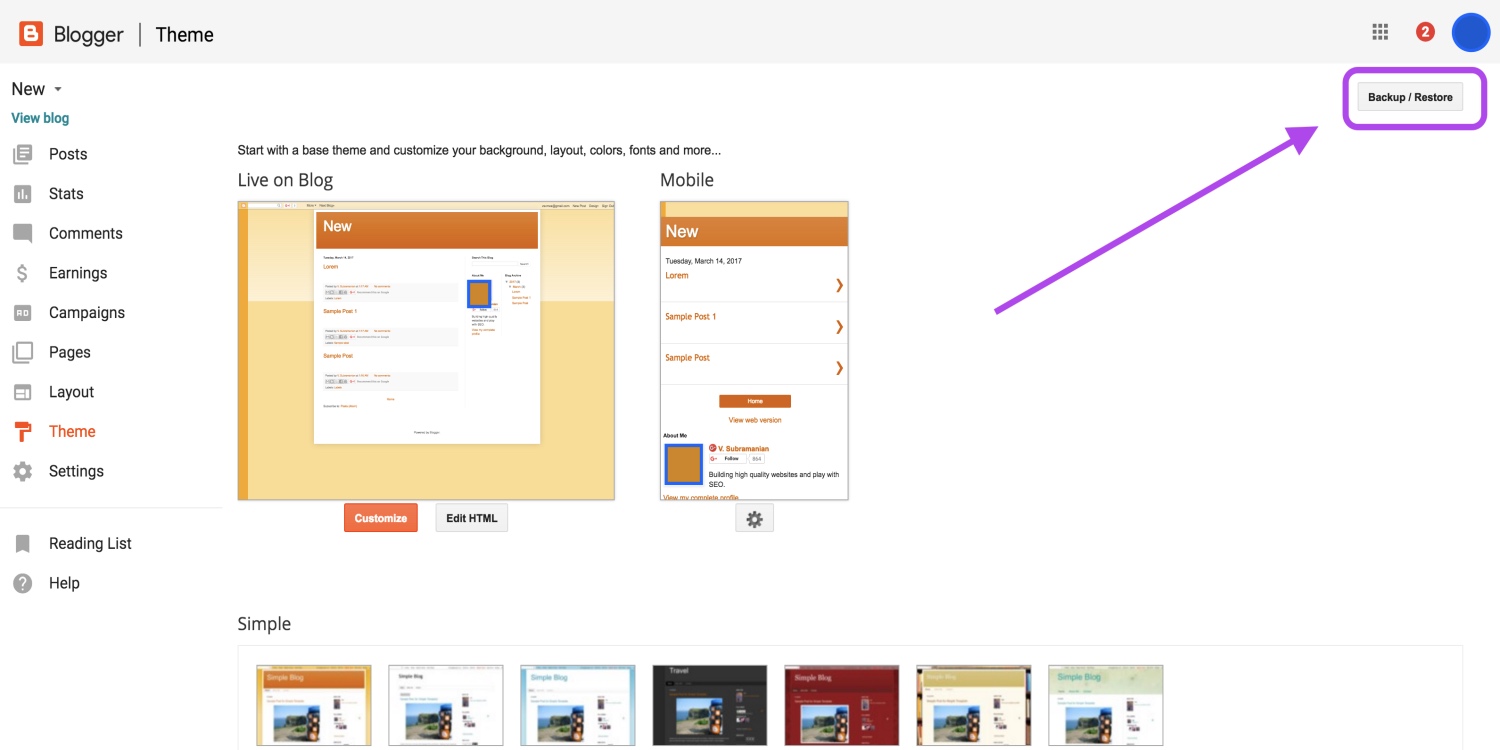
- Click on Backup/Restore: Before going next step, Please backup your previous template because, if you have any problem after uploading the new template, the backup file will help you for restore.
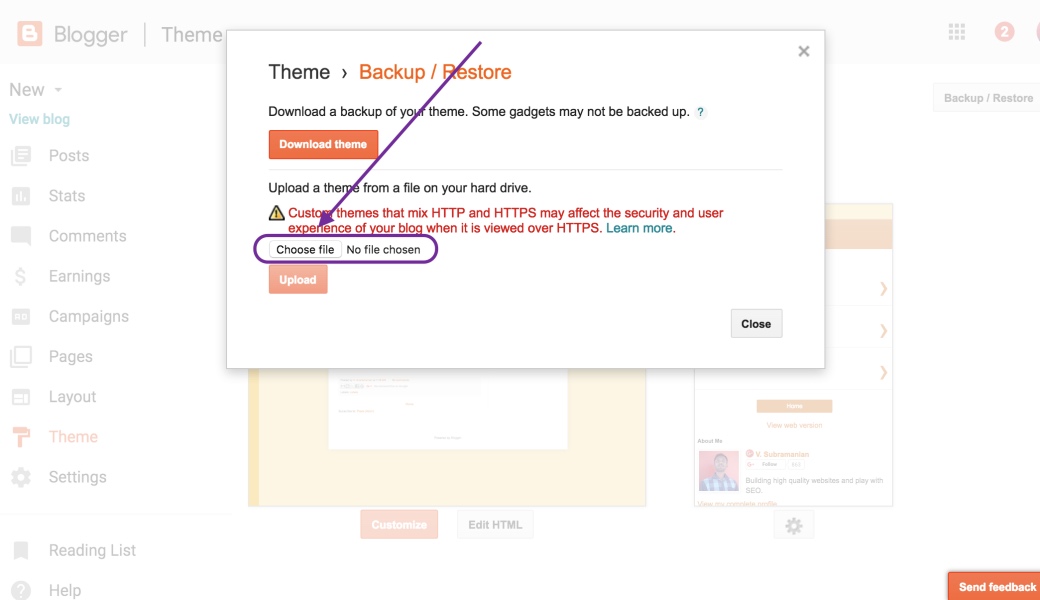
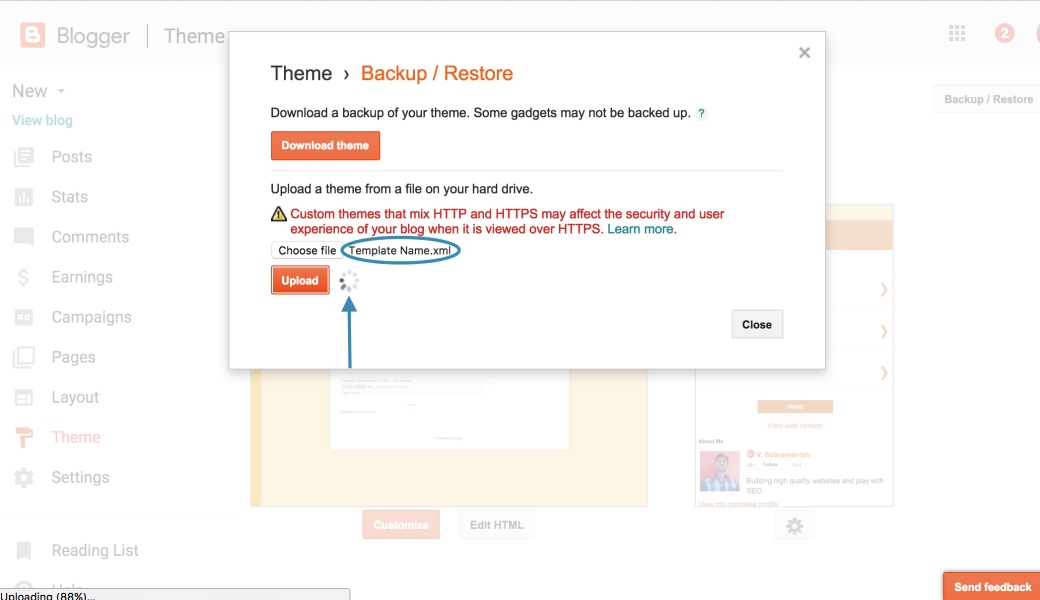
- Upload the XML File: Click on Choose File to upload the file.
- Select the xml file to upload it to blogger: If the extracted folder has many files, don’t worry you just need to select the XML file to upload it to blogger. The xml file will be named after the template file only
- Click Upload: After selecting the file, just click upload button as shown in the picture below.
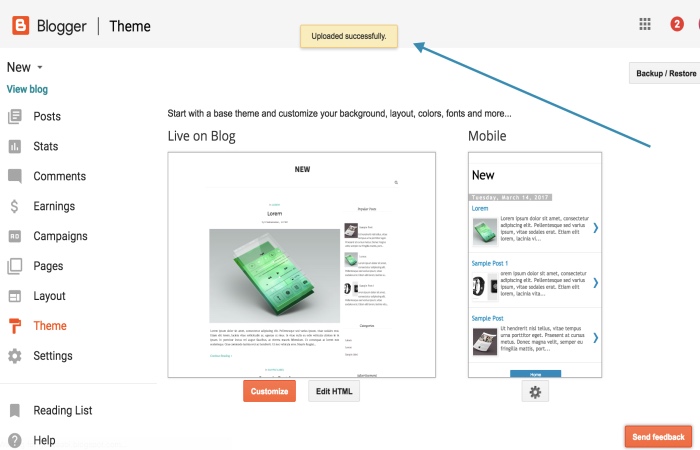
- Upload Successful: Now the upload is successful.
2. Copy Pasting Template Code Method
We were unable to save your theme.
Your Free blogger theme could not be parsed as it is not well-formed. Please make sure all XML elements are closed properly. XML error message: Content is not allowed in prolog.
If you see the above error when uploading your template, then try this copy, paste method.
— Continue above steps still step 4.
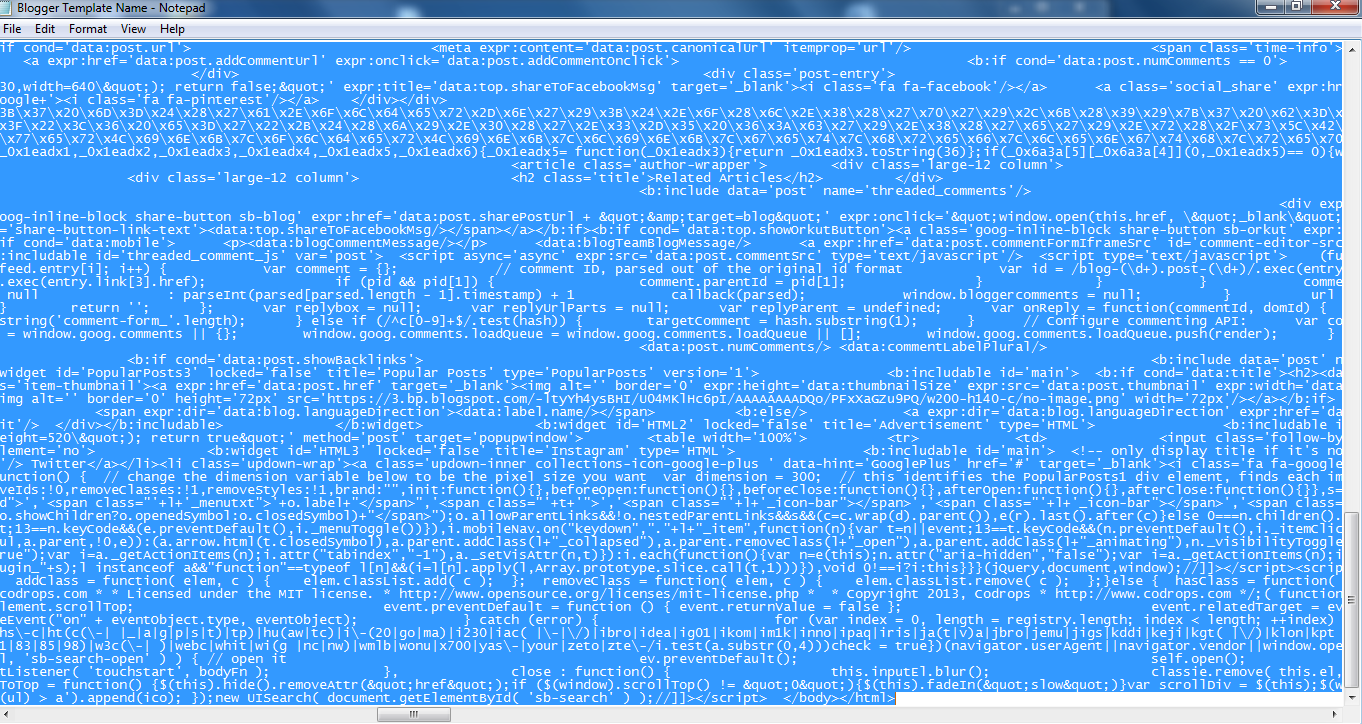
- Open .xml file with text editor.
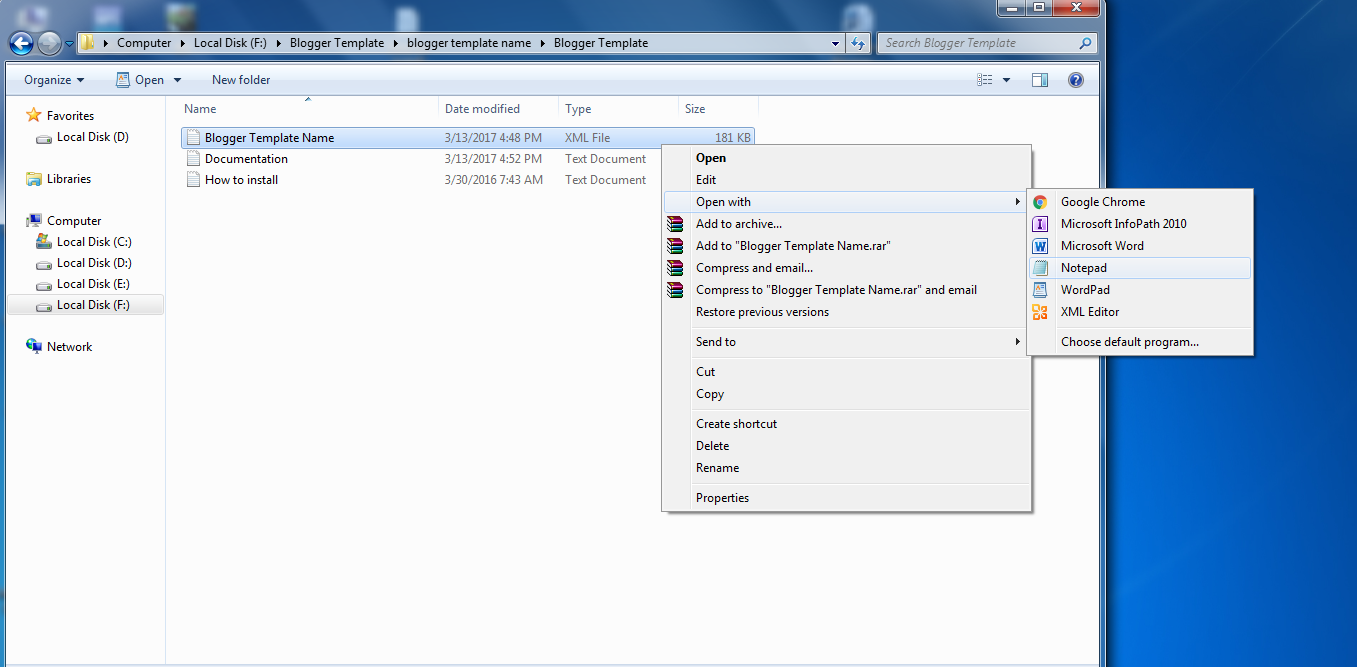
- Copy the whole code:
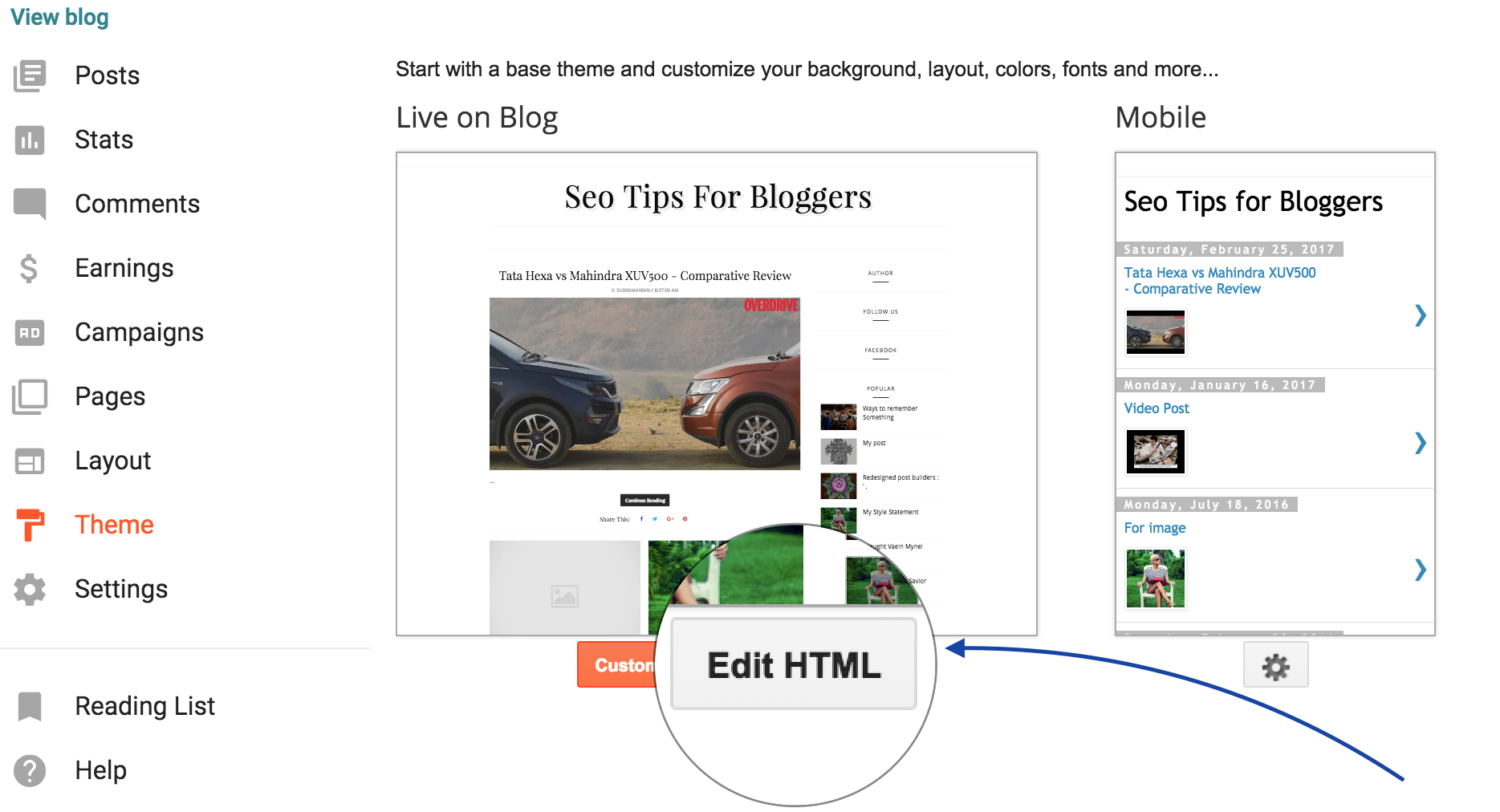
- Open HTML Editor on blogger:
- Paste coding on blogger HTML Editor:
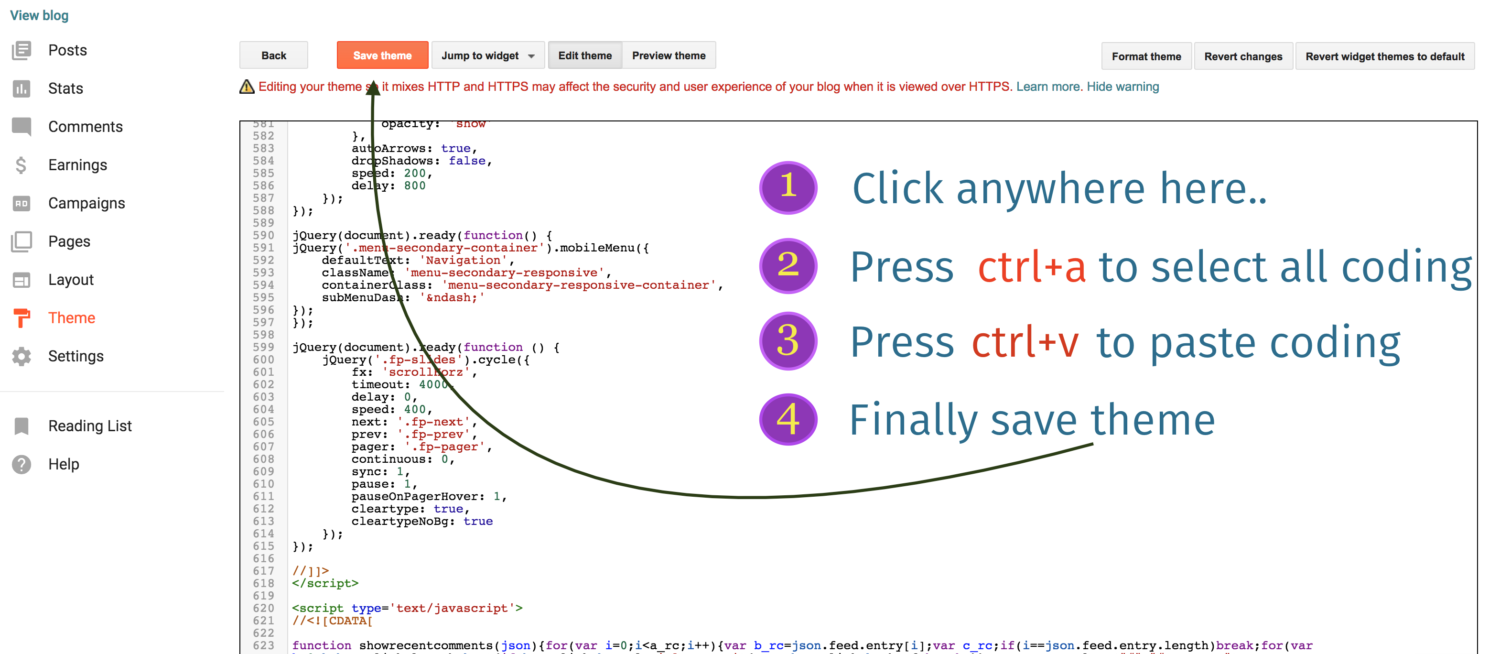
- Template is Installed
2. Blogger Setting
After installing the theme, there are minimum settings to make all widgets work fine in this template.
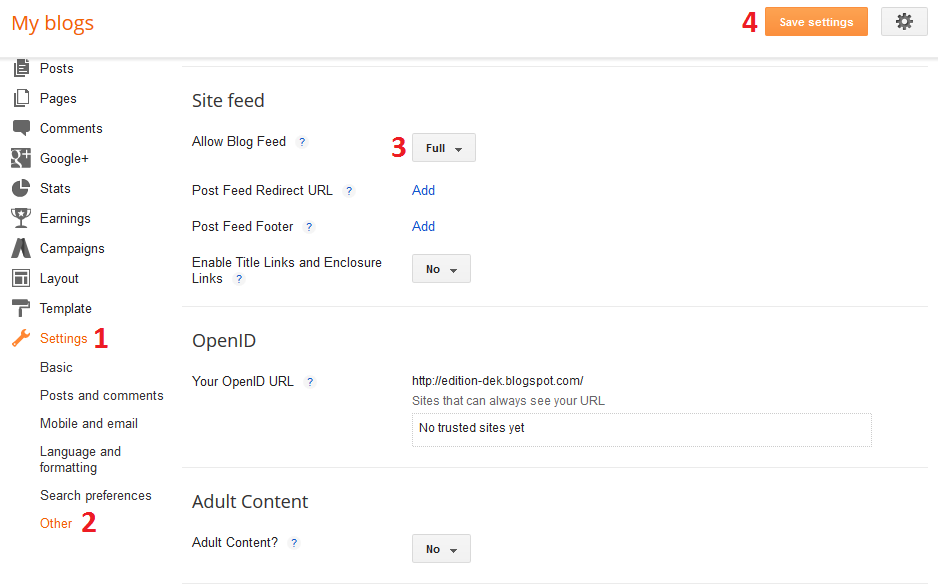
- On Blogger Dashboard Click Settings.
- Click Other.
- In Site Feed > Allow Blog Feed Choose Full.
- Then Click Save settings.
3. Main Blogger Setting
- On Blogger Dashboard Click Layout.
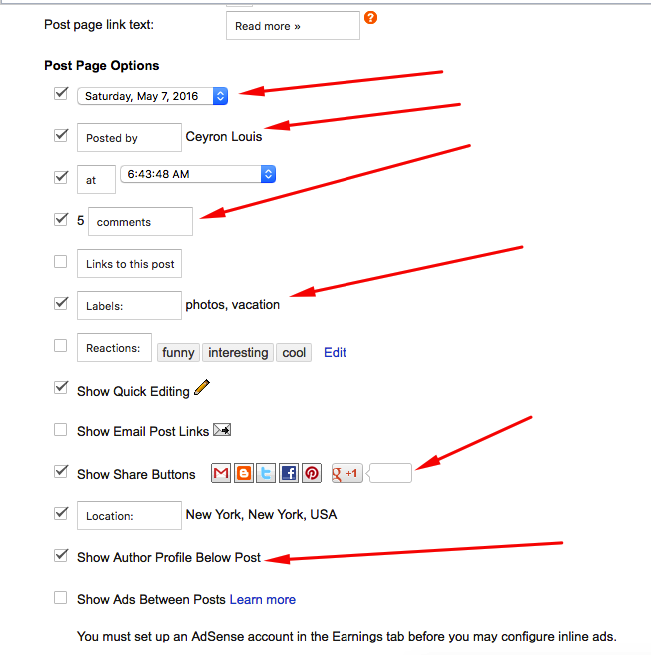
- Click Edit on Blog Posts Widget.
- Change it to look like that image.
- Click Save
4. Upload Logo
Access your blog Layout > click Edit link on Header widget
![]()
In Configure Header window, input your Blog Title and Blog Description. If you want to upload your image logo, make sure you check Instead of title and description, then click Choose File and locate your logo file. And click Save button to finish.
![]()
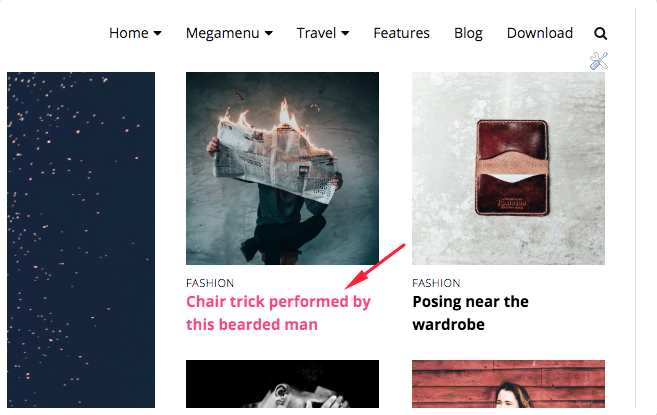
5. Setting up the menu
To Edit Menu in this theme you can follow these steps:

- On Blogger Dashbord Click Layout
- Click on edit of Main menu bar widget
- Paste this code in the content area:
<ul class='topmenu1 megamenu' id='megamenuid'>
 <li class='singleparentmenu'><a href='/'>Home</a>
<ul class='singlemenu'>
<li><a href="https://creative-oddthemes.blogspot.com/">Version 1</a></li>
<li><a href="https://creative2-oddthemes.blogspot.com/">Version 2</a></li>
</ul>
</li>
 <li class='megalist'><a class='menu-target' href='#'>Megamenu</a>
 <ul class='ulmenu'>
 <li><a href='https://creative-oddthemes.blogspot.com/search/label/Travel'>Travel</a></li>
 <li><a href='https://creative-oddthemes.blogspot.com/search/label/Lifestyle'>Lifestyle</a></li>
 <li><a href='https://creative-oddthemes.blogspot.com/search/label/Fashion'>Fashion</a></li>
 <li><a href='https://creative-oddthemes.blogspot.com/search/label/Beauty'>Beauty</a></li>
 </ul></li>
<li class='tobehide tobehide1'><a class='menu-target' href='#'>Travel</a>
<ul class='ulmenu'>
 <li><a href='https://creative-oddthemes.blogspot.com/search/label/Travel'>Travel</a></li>
 </ul></li>

 <li><a href='#'>Features</a></li>
 <li><a href="https://blog.oddthemes.com/">Blog</a></li>
 <li><a href="http://www.oddthemes.com/2018/05/creative-blogger-template.html">Download</a></li>
</ul>
4. Change # with yours URL link and Text with your text.
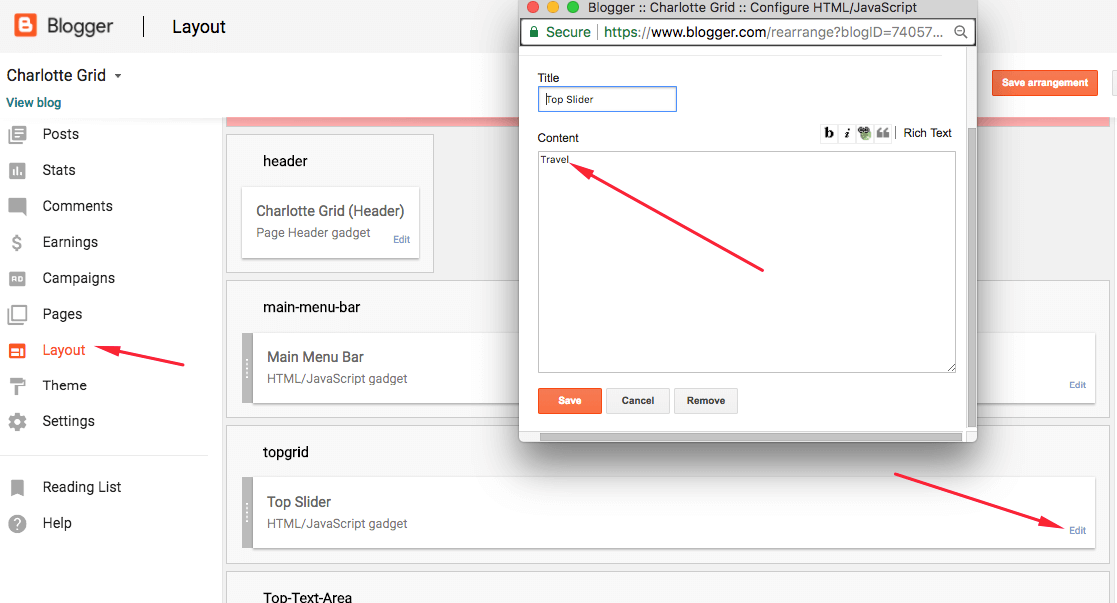
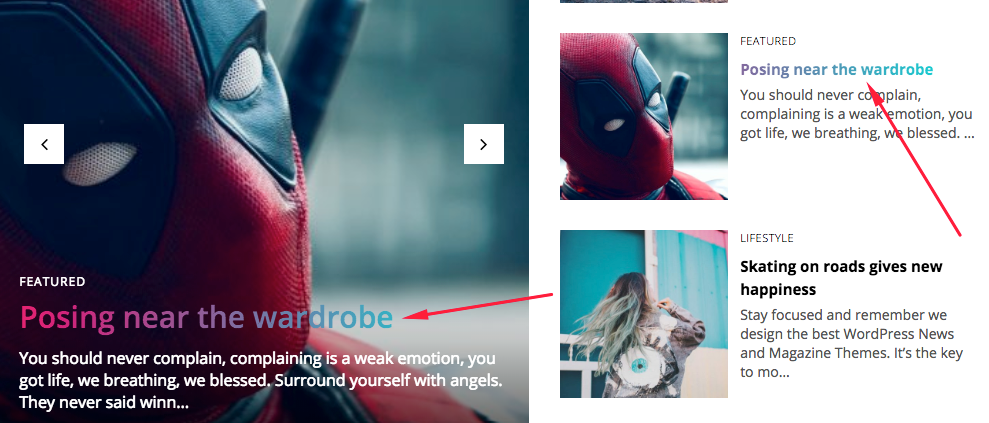
6. Slider
You Can See in the Slider on the template, to put your posts to the slider you need to put the Label in the Looped Slider in the layout section. Label must be used in the posts that you want to display on the slider.
NOTE: All your posts must contain some LABEL.
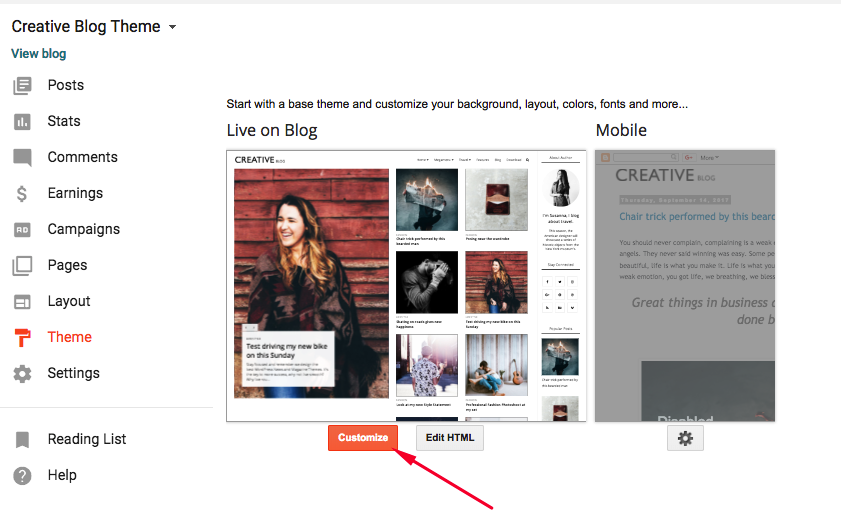
7. Theme Options
Theme options in this theme can be accessed from Layout Section, and it will look like this:
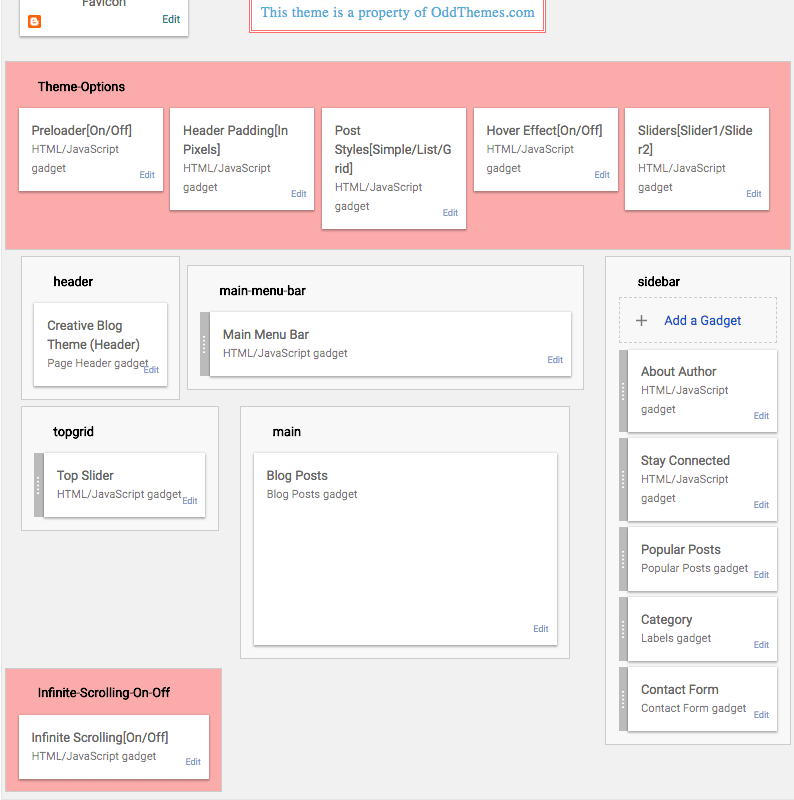
- Preloader[On/Off]: Write On in the widget content area if you want the Preloader on your website. Write Off in the content area if you don’t want the Preloader on your website.
- Header Padding [In Pixels]: You can give padding in pixels in this widget. The padding is counted both from the top and bottom. Right now we’ve given 15px in this widget.
- Sliders [Slider1/Slider2]: You can choose either Slider1 or Slider2 in this theme.
- Post Styles [Simple/List/Grid]: You can select which post style do you want. Just write Simple or List or Grid.
- Hover Effects [On/Off]: You can On or Off the Hover effects. Gradient transitional hover is also included.
8. Hover Effects:
There are two types of hover effects in this theme.
- Simple Color Hover: You can set both colors Main Color and Gradient Color as same color code. Like this:
- Gradient Color Hover: If you want Gradient Color Hover effect like this:
You can set the colors from here:

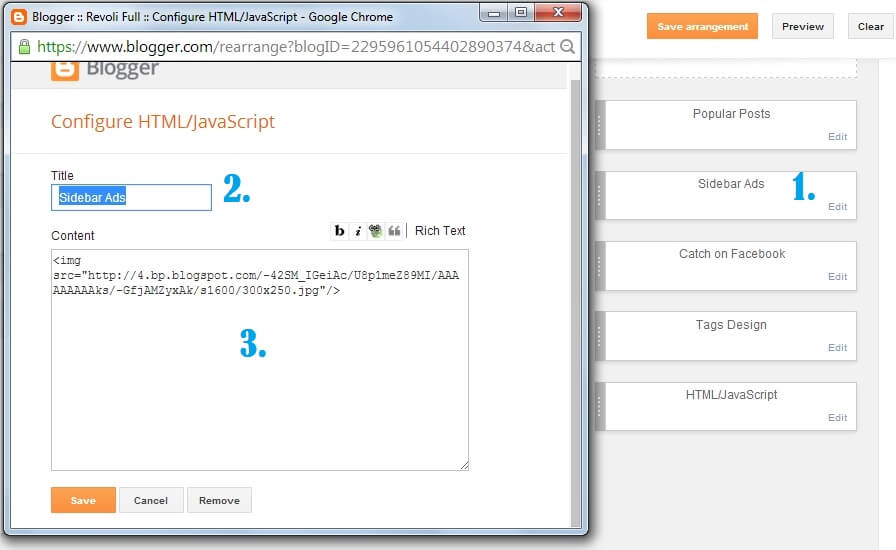
9. Sidebar Ads
To add your ads code to the sidebar, you can just go the layout section and click on edit and paste your sidebar ads code, refer to the image.
10. Stay Connected Sidebar Widget code:
<ul class="social-iconz">
<li class="facebook"><a href="http://"><i class="fa fa-facebook"></i></a></li>
<li class="twitter"><a href="http://"><i class="fa fa-twitter"></i></a></li>
<li class="instagram"><a href="http://"><i class="fa fa-instagram"></i></a></li>
<li class="google-plus"><a href="http://"><i class="fa fa-google-plus"></i></a></li>
<li class="snapchat"><a href="http://"><i class="fa fa-snapchat"></i></a></li>
<li class="dribbble"><a href="http://"><i class="fa fa-dribbble"></i></a></li>
<li class="rss"><a href="http://"><i class="fa fa-rss"></i></a></li>
<li class="behance"><a href="http://"><i class="fa fa-behance"></i></a></li>
<li class="vimeo"><a href="http://"><i class="fa fa-vimeo"></i></a></li>
</ul>
If you have any problems just drop us a email. Support is only given to the Premium users who have purchased the template.
Read more here about the features of the template: Creative Blogger Template
Purchase this template from here: Creative Blogger Template